Electric fences are a popular and effective way to keep livestock contained and predators out. If you're new to electric fencing, building your own fence may seem daunting. However, with the right tools and knowledge, it can be a straightforward process. In this guide, we'll walk you through the steps you need to take to build an electric fence from scratch.
- Determine Your Needs: Before you start building, you'll need to determine what you want your electric fence to achieve. Do you want to keep livestock contained, protect crops from wildlife, or prevent predators from entering your property? Once you have a clear idea of your needs, you can start planning the layout and materials for your fence.
- Gather Your Materials: To build an electric fence, you'll need several materials, including fence posts, insulators, wire, a charger, and grounding rods. You may also need additional materials depending on the layout of your fence. Make sure to purchase high-quality materials that are designed for electric fencing.
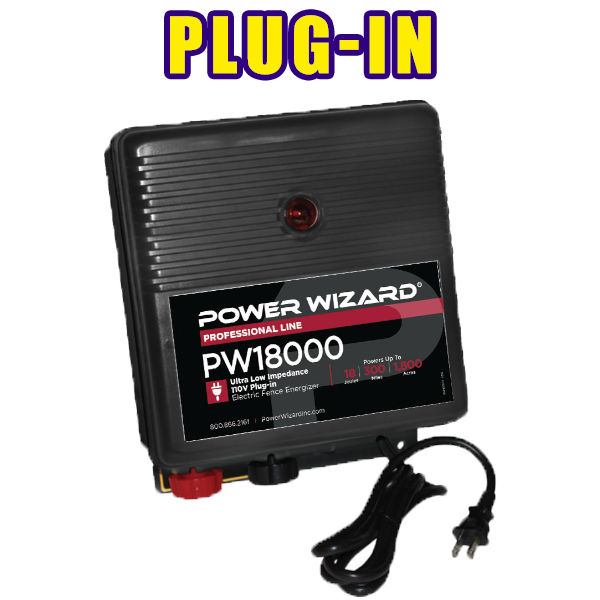
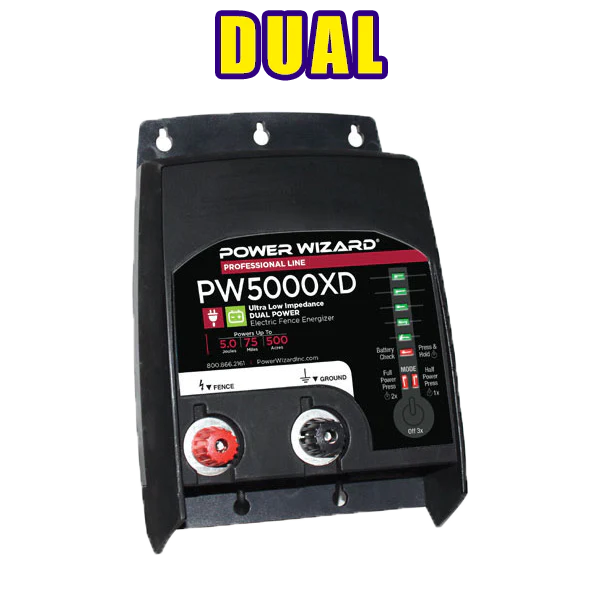
- Choose Your Charger: The charger, also known as the energizer, is the heart of your electric fence system. It provides the electrical charge that runs through the wire, deterring animals from touching the fence. There are several types of chargers available, including battery-powered, solar-powered, and plug-in options. Choose a charger that is appropriate for the size and layout of your fence.
- Install Your Fence Posts: Once you have your materials and charger, it's time to start building your fence. Begin by installing your fence posts at regular intervals. Make sure to drive them deep enough into the ground to provide stability for your fence.
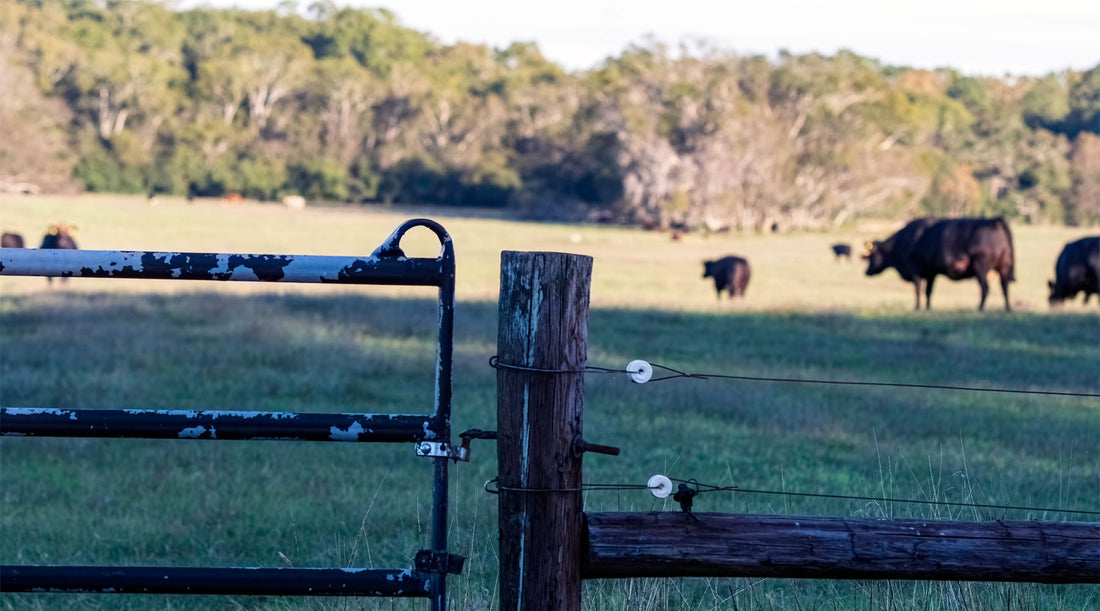
- Install Your Wire and Insulators: After your fence posts are in place, you can start running your wire and installing your insulators. Insulators are important because they prevent the electric charge from grounding out on the fence posts. Make sure to install insulators at the appropriate intervals and angles.
- Install Your Charger: Once your fence is complete, it's time to install your charger. The charger should be installed in a protected area, such as a barn or shed. It should be grounded properly and connected to your fence wire. Make sure to follow the manufacturer's instructions for installation.
- Test Your Fence: Before you introduce livestock or wildlife to your fence, it's important to test it for effectiveness. Use a fence tester to check the charge and voltage of your fence. Make any necessary adjustments to ensure that your fence is working properly.
Conclusion: Building an electric fence may seem intimidating at first, but with the right tools and knowledge, it can be a straightforward process. By following these steps and using high-quality materials, you can create an effective electric fence to meet your needs. Remember to test your fence regularly to ensure that it is functioning properly and providing the necessary protection.